
The following shows how to install CiraSync On-Prem UCM on your Microsoft Windows Server.
Before You Start
This guide assumes you have done the following:
- Setting up CiraSync On-Prem UCM Pre-Requisites
- Preparing Your Microsoft Exchange Server for CiraSync On-Prem UCM
Instructions
- Navigate to https://csop.cirasync.com/support-home/.
- Click the Download CiraSync On-Prem UCM Server tile.
- Right-click itrezzoagent.exe > Click Save target as.
- Select where to save the CiraSync On-Prem installer. > Click Save.
- Open itrezzoagent.exe. The CiraSync On-Prem Setup Agent prompt will open. (See figure below.)
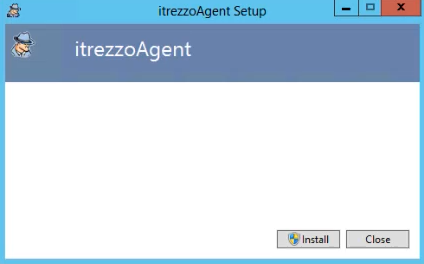
- Click Install. The User Account Control prompt will open.
- Click Yes. After a few seconds, the itrezzoAgent Setup and Installation wizard will open. (See figure below.)
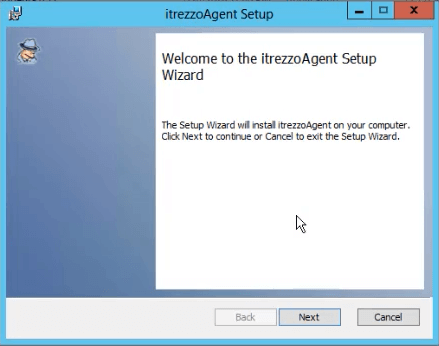
- Click Next. The End-User License Agreement will appear.
- Click the checkbox to accept the license agreement.
- Click Next. The Destination Folder section of the wizard will appear.
- Click Change and chose where install CiraSync On-Prem to.
- Click Next. The Custom Setup section of the wizard will appear.
- Click Next. The Logon Information section of the wizard will appear. (See figure below.)
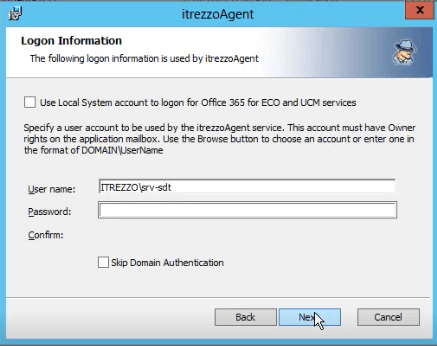
- Enter the CiraSync On-Prem service account credentials. A NETBIOS LOGON is performed and these these credentials are verified by Active Directory. NOTE: If the NETBIOS LOGON is unable to find the service account or verify the credentials, check the Skip Domain Authentication box.
- Click Next. The Ready to Install itrezzoAgent section of the wizard will appear.
- Click Install. NOTE: The CiraSync On-Prem Installation Wizard will also install Silverlight and the CiraSync On-Prem WebAdmin.
- Click Finish once the installation is complete. A pop-up message will appear.
- Click Close.
